I was on a job once—tight backyard, fences on three sides, glass sunroom ten feet from the trunk. Big maple coming down in sections. Boss says, “We’ll negative rig it. Easy money.”
First block. Clean.
Second block. Rope sang a little louder than I liked.
Third block—boom. The whole stem shuddered like it got punched in the gut. Rigging point dropped six inches. My knees buckled before my brain caught up.
That’s when I learned something the hard way:
Negative rigging doesn’t forgive confidence. It only respects math and discipline.
If you’ve been climbing a while, you already know negative rigging arborist safety is where good climbers get hurt—not beginners. Beginners are scared. Veterans get comfortable.
You feeling a little too comfortable lately?
Table of Contents
The Problem: Treating Negative Rigging Like Regular Rigging
Here’s the dangerous lie floating around job sites:
“The rope can handle it.”
Sure.
But can the tree?
Negative rigging multiplies force. Not doubles. Multiplies.
I see the same mistakes over and over:
- Blocking down too big “to save time”
- No true load calculation
- Using compromised rigging points
- Standing in the drop zone “just for this one”
- Letting speed replace control
You know that feeling when the rigging line hums under tension?
That hum is your last warning.
Why Negative Rigging Is So Brutal on Trees (and Bodies)
When you negative rig, the piece:
- Free-falls
- Slams the rope
- Transfers shock to the rigging point
- Sends force down the stem
- Rebounds through the system
That force doesn’t disappear. It goes somewhere.
Usually into:
- Cracked stems
- Blown-out rigging points
- Snapped slings
- Or your spine when the tree kicks back
Negative rigging turns gravity into a weapon. Use it wrong, and it uses you.
The Safety Audit: What OSHA and ANSI Z133 Actually Demand
This isn’t about passing an inspection. It’s about not getting carried off.
OSHA (29 CFR 1910.266) expects:
- Proper hazard assessment before cutting
- Workers kept clear of suspended loads
- Equipment used within design limits
- No working beneath active rigging loads
Translation:
If you’re eyeballing it instead of calculating it, you’re out of bounds.
ANSI Z133 requires:
- Rigging points strong enough for dynamic loads
- Clear communication between climber and ground crew
- Proper use of friction devices
- No cutting when failure of the support system is possible
That last part hits hard. If your rigging point might fail—don’t cut.
The Silent Killer: Compression You Can’t See
Negative rigging loves to expose weak wood.
What looks solid can be:
- Internally cracked
- Overloaded from previous picks
- Compromised by decay you didn’t probe
Ever notice how the first few blocks feel fine, then suddenly everything feels sketchy?
That’s cumulative stress talking.
Trees keep score. They remember every hit.
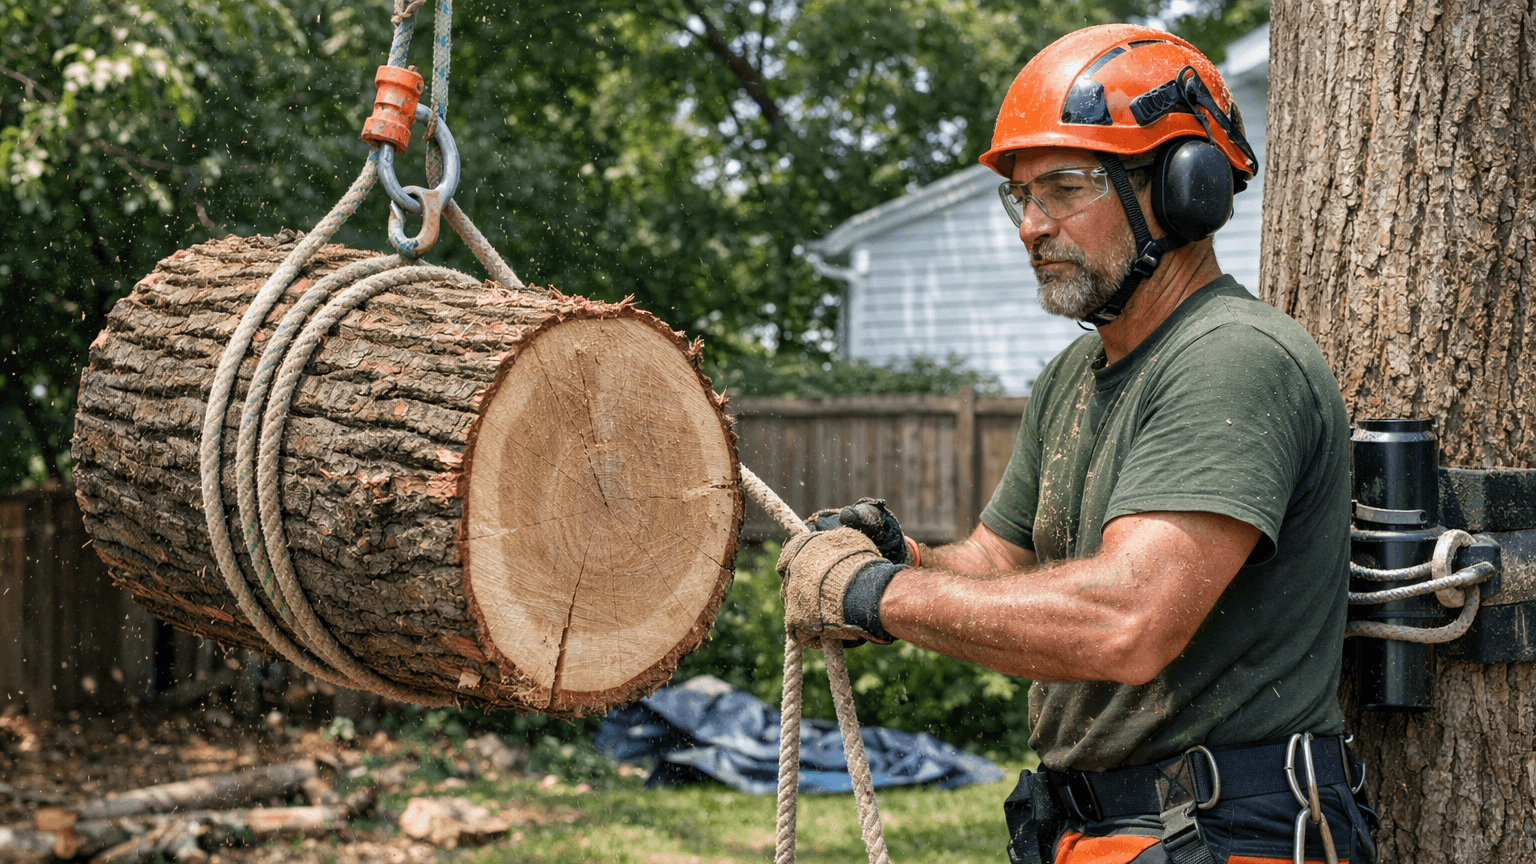
Negative Rigging Arborist Safety — The System I Trust My Life To
This is how I rig heavy wood when negative rigging is the only option.
Not the fastest way.
The safest way.
Step 1: Choose the Rigging Point Like a Pessimist
I assume the tree is weaker than it looks.
I look for:
- Straight grain
- No seams or old wounds
- No prior shock loading
- Enough diameter to handle force plus margin
If I wouldn’t hang my truck from it, I won’t rig from it.
And no—dead wood is never a rigging point. Ever.
Step 2: Downsize the Wood (Ego Gets Cut First)
Here’s the rule most injuries break:
If you’re wondering whether the piece is too big, it is.
I’d rather take:
- Two extra cuts
- Three extra minutes
- Ten extra pieces
Than one ambulance ride.
Small blocks:
- Reduce shock load
- Protect the stem
- Protect the rigging gear
- Protect your ground crew
Your foreman rushing you? Let him. Gravity doesn’t care about schedules.
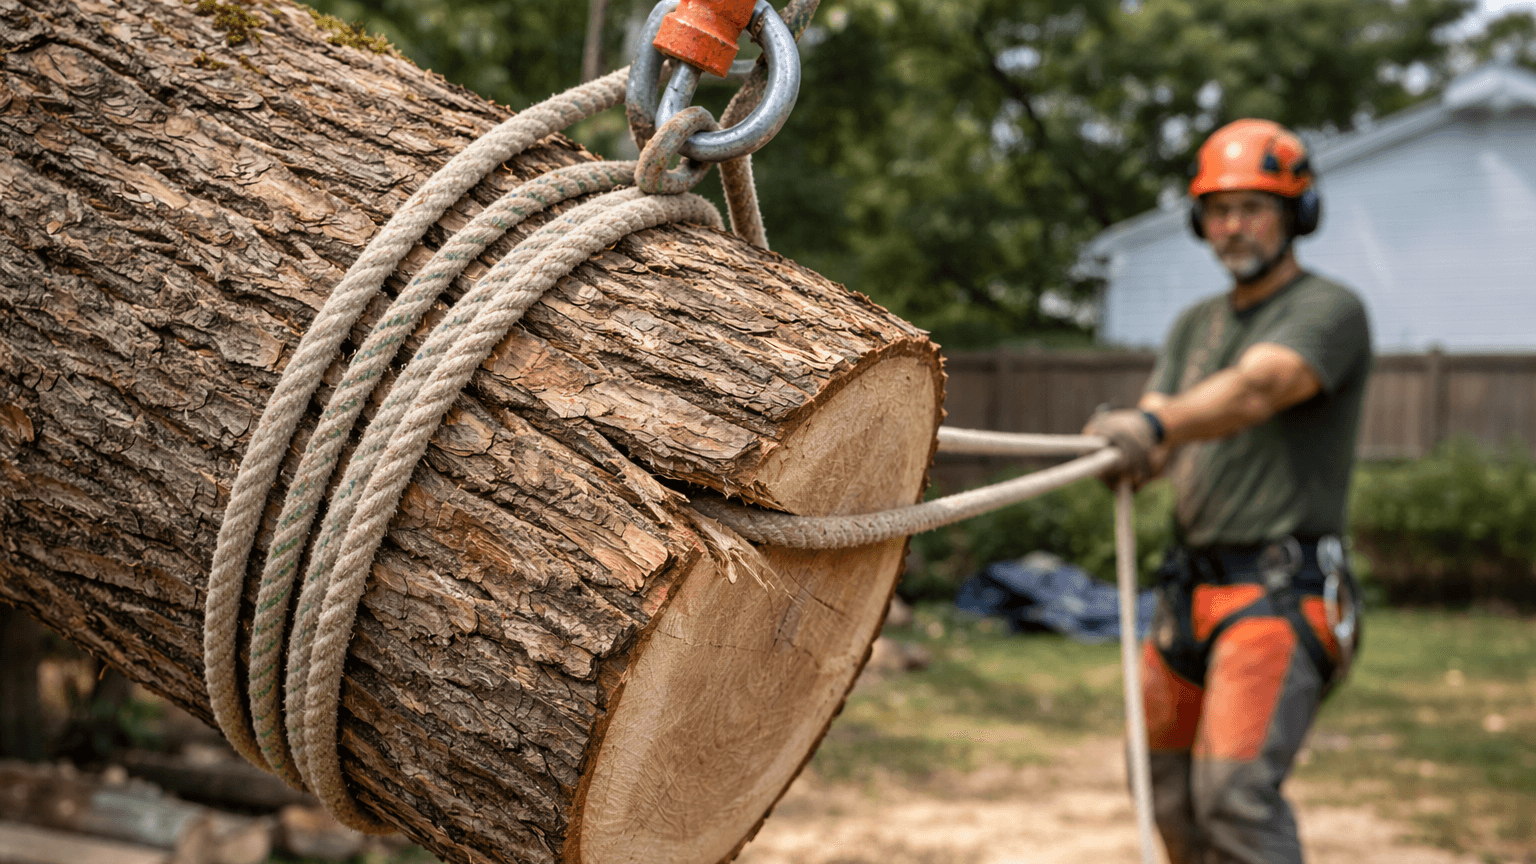
Step 3: Control the Fall Distance
Fall distance equals force.
I aim for:
- Minimal free fall
- Pre-tensioned lines
- Tight communication before every cut
Slack is not your friend. Slack is stored violence.
If the piece drops more than you expected, you already lost control.
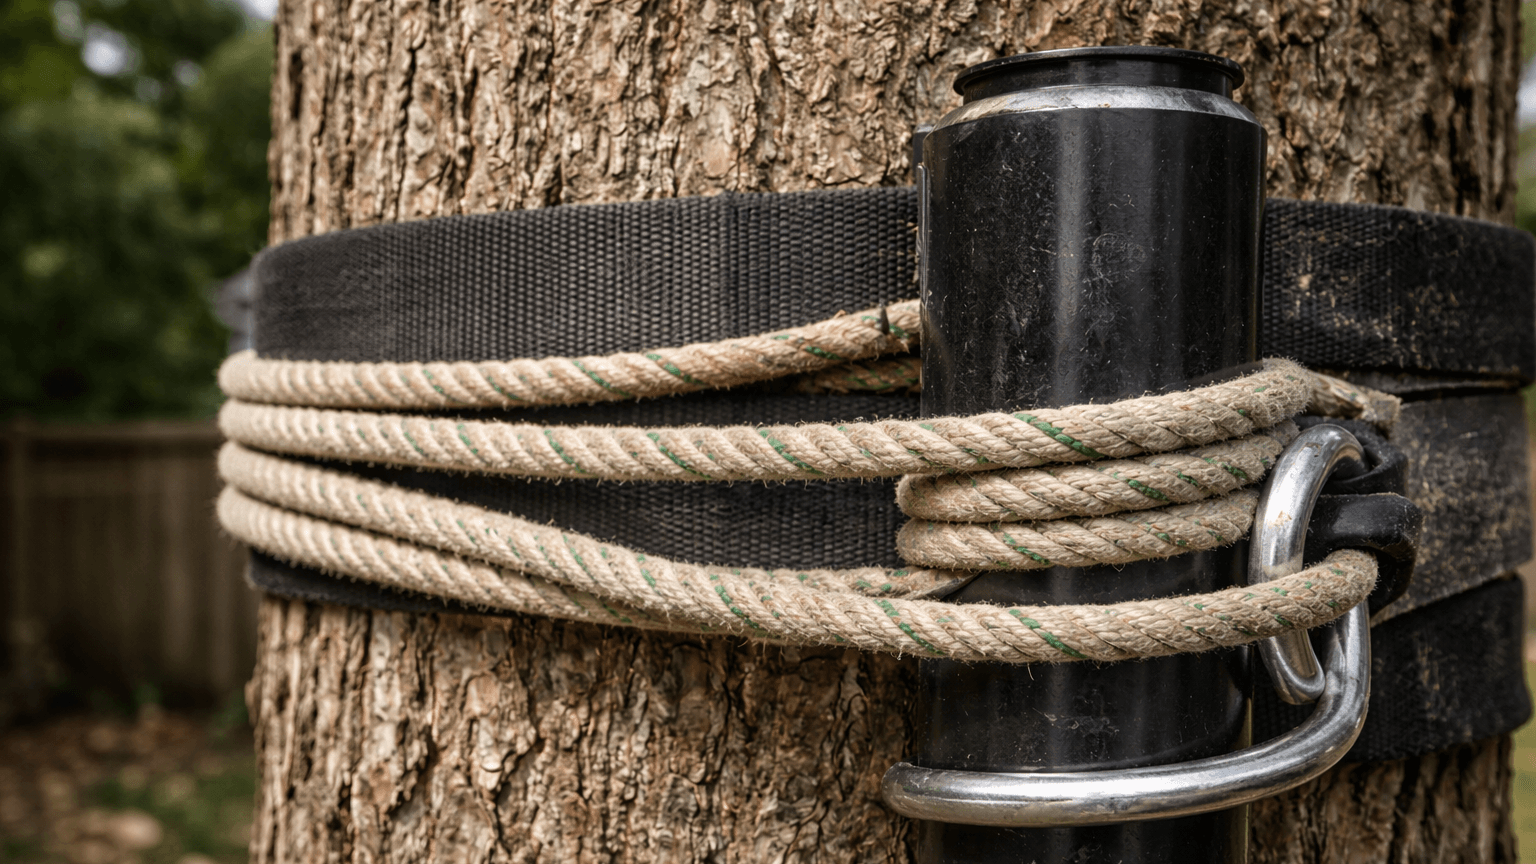
Step 4: Friction Devices Are Not Decorations
Port-a-wraps and bollards exist for a reason.
I make sure:
- Wraps match the load
- Groundie understands when to let it run
- No sudden stops unless planned
Sudden stops break gear. And people.
You ever see a ground guy lock it off too fast?
That’s how trees explode.
Step 5: Stand Where Failure Can’t Find You
Nobody stands:
- Under the block
- In line with the rope
- Inside the drop zone
I don’t care how many times it’s worked before.
One failure is all it takes.
Ask yourself right now—if this stem snaps, where does it go? Where do I go?
Step 6: Cut for Fiber, Not Speed
Negative rigging cuts need patience.
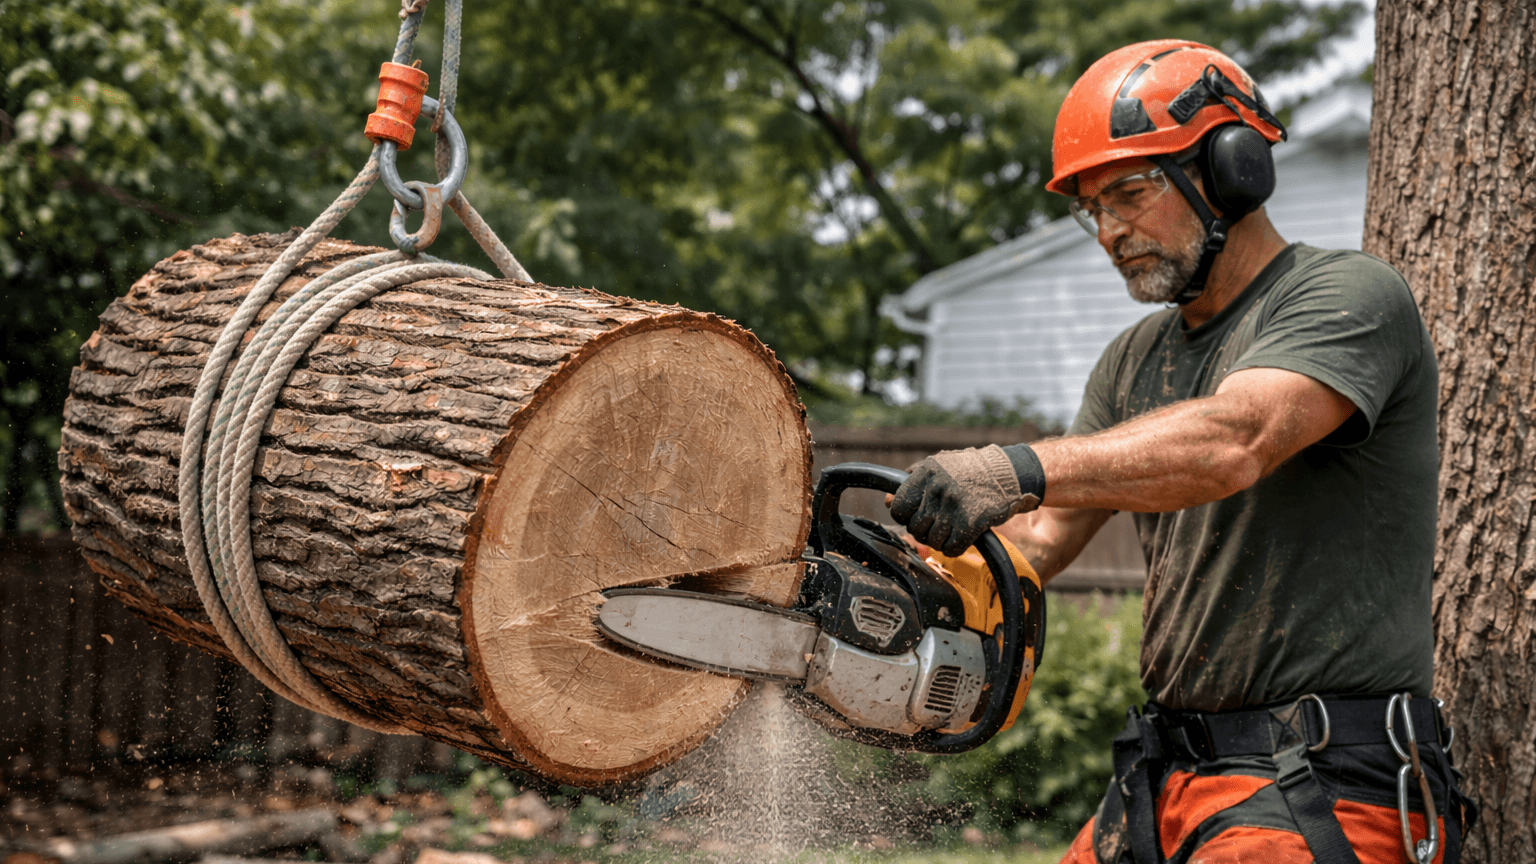
I use:
- Controlled back cuts
- No rushing through holding wood
- Slow saw feed to feel fiber response
If the saw starts pulling weird, I stop. That’s the tree talking.
Trees whisper before they scream.
Step 7: Reassess After Every Pick
This part gets skipped. It shouldn’t.
After every block:
- Check rigging point movement
- Look for new cracks
- Watch how the stem reacts
If anything changes, the plan changes.
Same plan + new conditions = accident math.
Step 8: Know When to Say “No More Negative”
Sometimes the answer is:
- Speedline
- Crane assist
- Manual lowering
- Or walking away
Negative rigging isn’t a badge of honor. It’s a tool.
And tools don’t get feelings hurt when you put them down.
Widow-Makers, Swing Paths, and Tunnel Vision
Negative rigging narrows your focus. That’s dangerous.
Before every cut, I look for:
- Overhead hangers
- Swing paths
- Rebound zones
- Dead tops in adjacent trees
Most accidents don’t come from the piece you’re cutting.
They come from what moves after.
You checking the whole picture—or just the cut?
Information Card: Negative Rigging Load Reality
| Factor | Low Risk | High Risk |
|---|---|---|
| Piece Size | Small | Large |
| Fall Distance | Minimal | Extended |
| Rigging Point | Solid live wood | Compromised / dead |
| Rope Condition | New / inspected | Worn / glazed |
| Friction Control | Smooth run | Sudden stop |
| Stem Condition | Straight, sound | Cracked, decayed |
Final Words from Someone Who’s Felt It Go Wrong
Negative rigging arborist safety isn’t about being fearless.
It’s about being honest.
Honest about:
- The forces involved
- The limits of the tree
- The limits of your body
I’ve been doing this 15 years. I still get nervous before big negative picks.
That nervousness keeps me sharp.
If this post made you rethink just one rigging habit, it did its job.
Cut smart.
Rig smaller than you want to.
And make it home standing up.