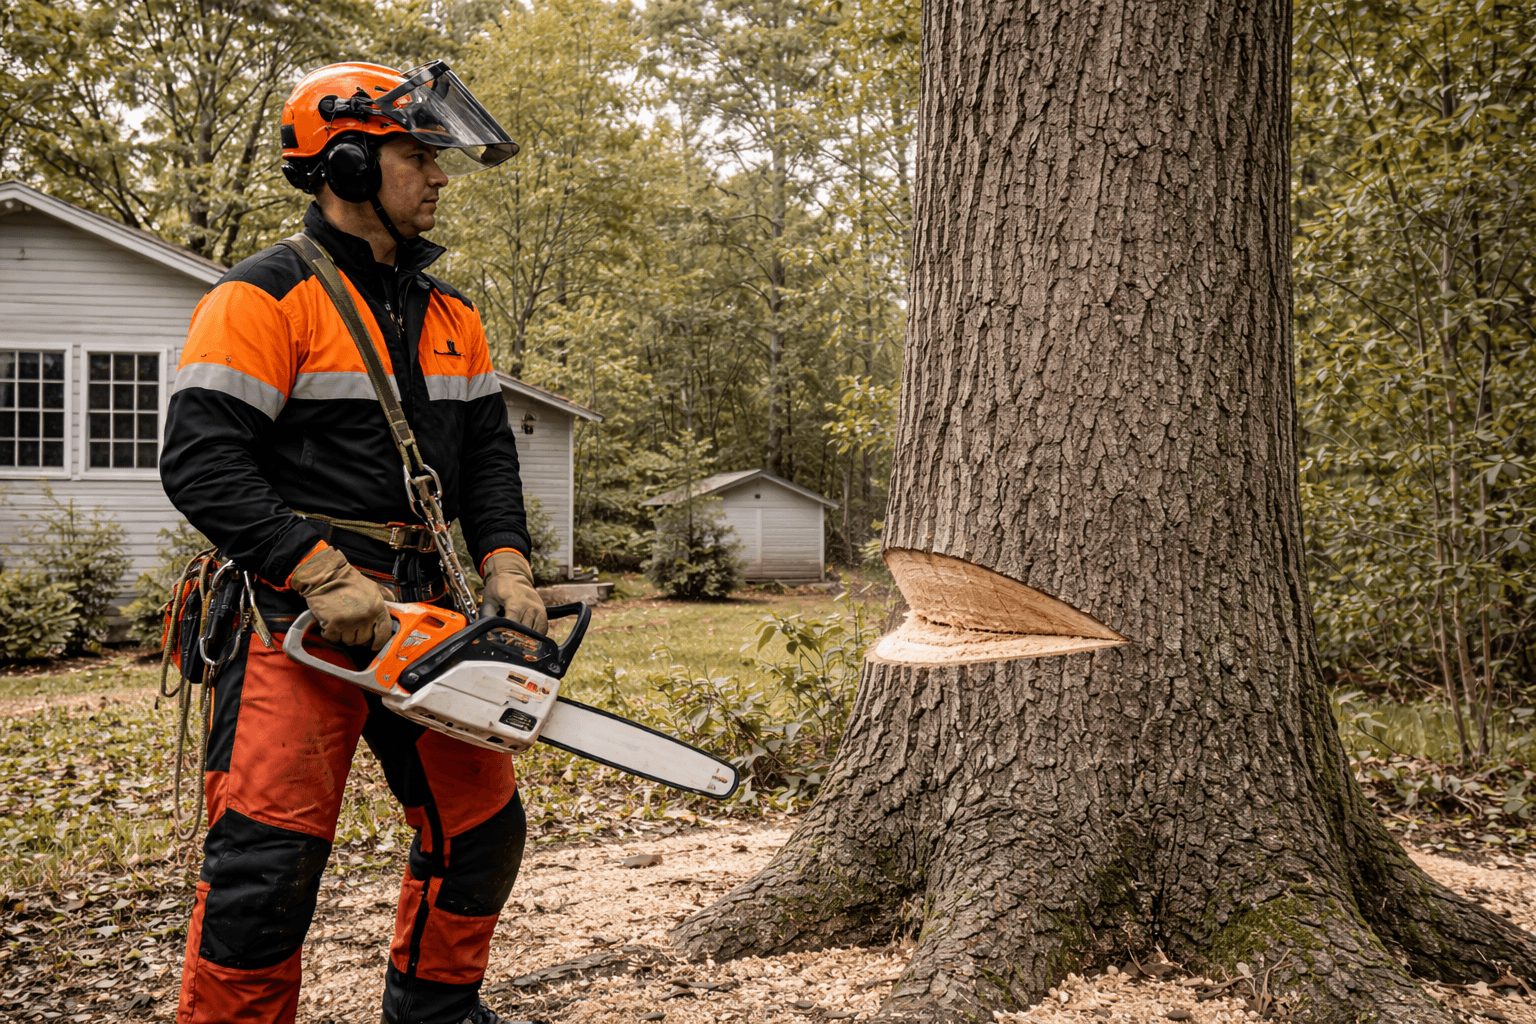
Tree Removal Techniques are about far more than just revving a chainsaw; they are a calculated game of physics, biology, and weight management. After 15 years in the canopy, I can tell you that the difference between a perfect drop and a destroyed house is often just an inch of hinge wood. Using proper Tree Removal Techniques ensures that you control the direction of the fall from start to finish, protecting both the crew and the property.

The Three Pillars of a Precision Cut
When I approach a felling job, I don’t just start cutting. I analyze the “lean,” the canopy weight, and the internal health of the trunk. If you miss even one variable, the tree can “chair” or kick back with lethal force.
1. The Face Notch: Your Steering Wheel
The face notch is the most critical part of Tree Removal Techniques. It dictates exactly where the tree will land.
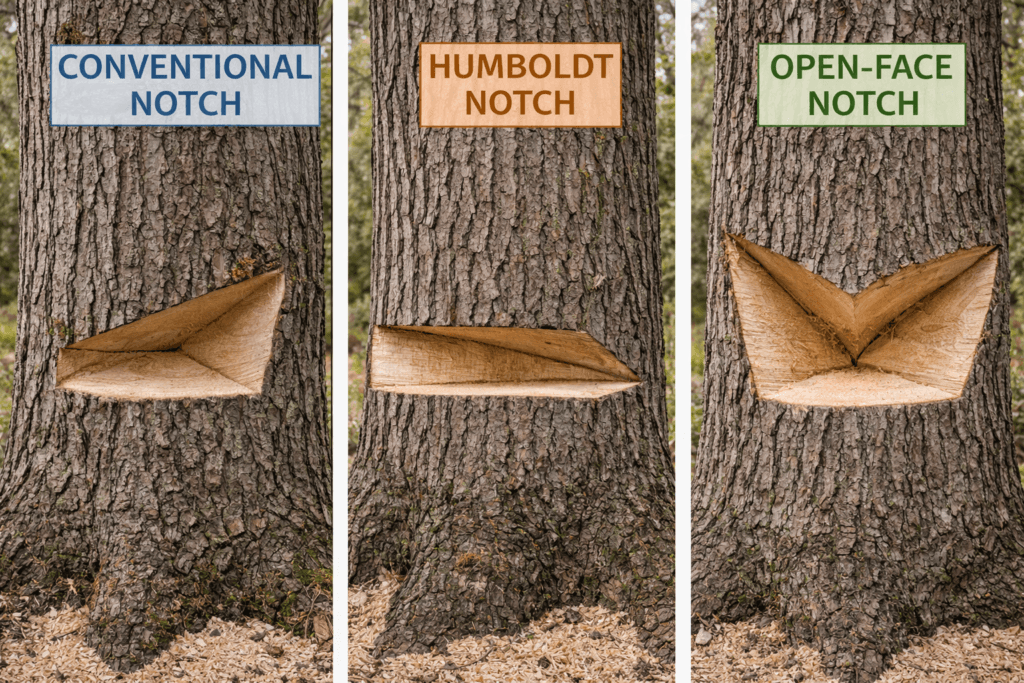
- The Conventional Notch: A 45-degree top cut meeting a level bottom cut. Good for basic felling.
- The Humboldt Notch: My personal favorite for heavy leaners. The notch is cut out of the stump rather than the log, preserving more high-value wood and preventing the log from jumping.
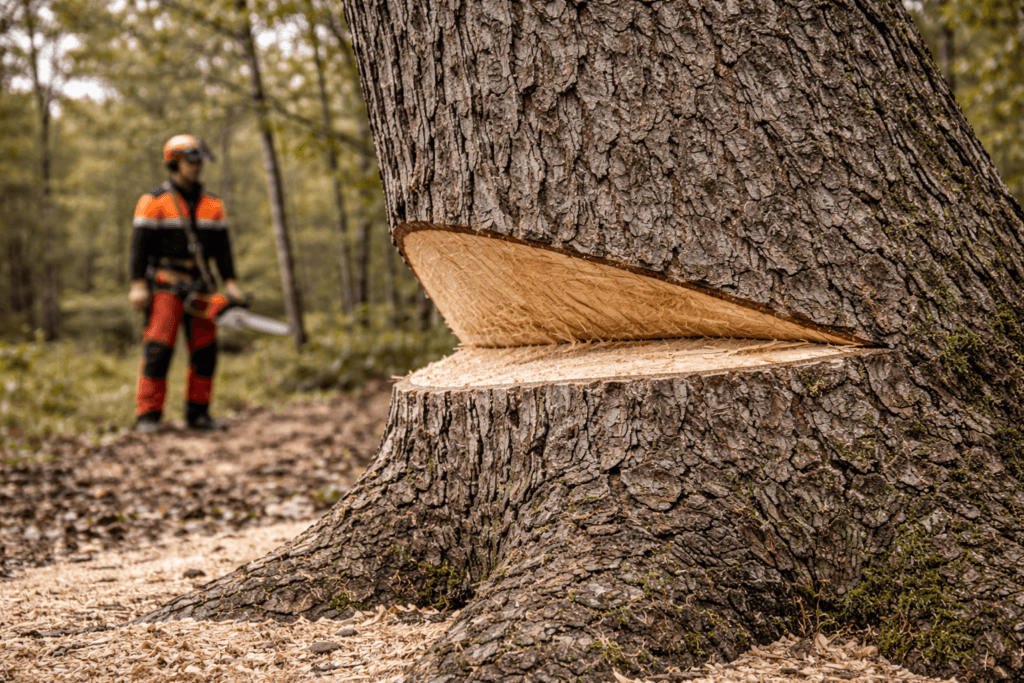
- The Open Face Notch: A wide 70- to 90-degree opening that allows the tree to stay attached to the hinge until it is almost flat on the ground.
2. The Hinge Wood: The Pivot Point
I never cut through the hinge. This strip of fiber acts as a door hinge, holding the tree steady until it clears the stump.
- Hinge Thickness: Usually 10% of the tree’s diameter at breast height (DBH).
- Hinge Length: Should be about 80% of the tree’s diameter.
- Tapered Hinge: If the tree has a side lean, I taper the hinge to “pull” it toward the intended landing zone.
3. The Back Cut and Plunge Cutting
The back cut is the final release. In professional Tree Removal Techniques, we often use a “Plunge Cut” (Bore Cut).
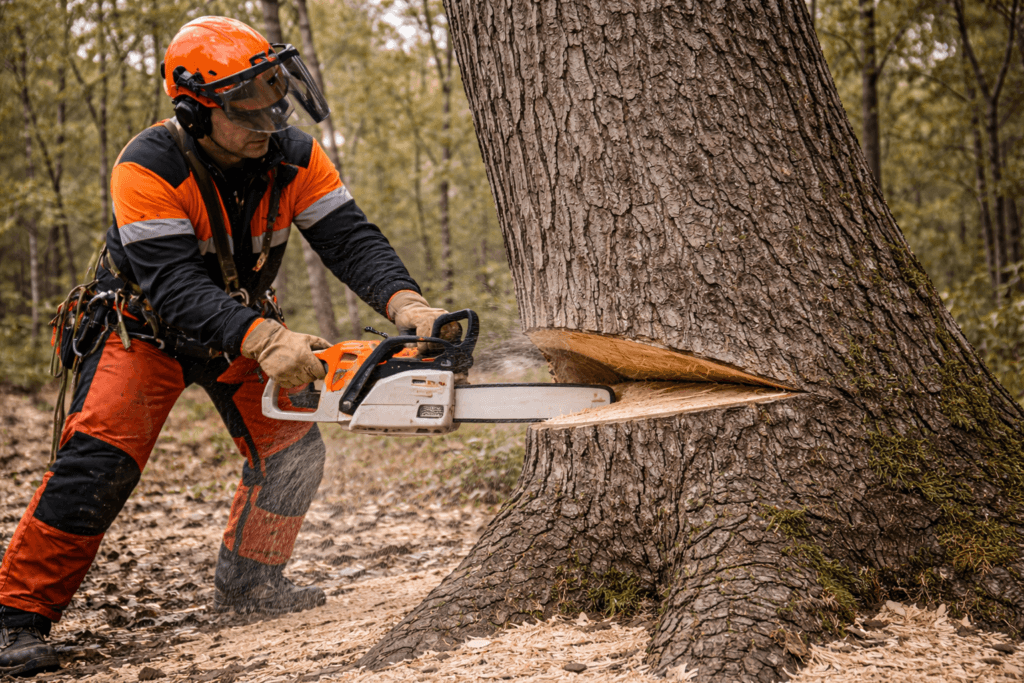
- I push the bar through the center of the tree behind the hinge.
- This leaves a “trigger” strap at the back of the tree.
- When I’m ready and the crew is clear, I snip that strap, and the tree falls exactly where planned.
Advanced Site Assessment: The 5-Step Plan
Before the saw touches the bark, I follow this 15-year field-tested checklist:
- Identify Hazards: Check for power lines, nearby structures, and underground utilities.
- Determine Lean: Use a plumb bob or a felling axe to see where the weight is naturally pulling.
- Check for Widowmakers: Look for dead hanging branches that might shake loose during the cut.
- Clear Escape Paths: Clear two paths at 45-degree angles to the rear. Never run straight back.
- Set the Hinge: Decide on the hinge thickness based on species and rot levels.
OSHA and ISA Safety Protocols
In high-risk Tree Removal Techniques, we follow the OSHA 1910.266 protocol strictly.
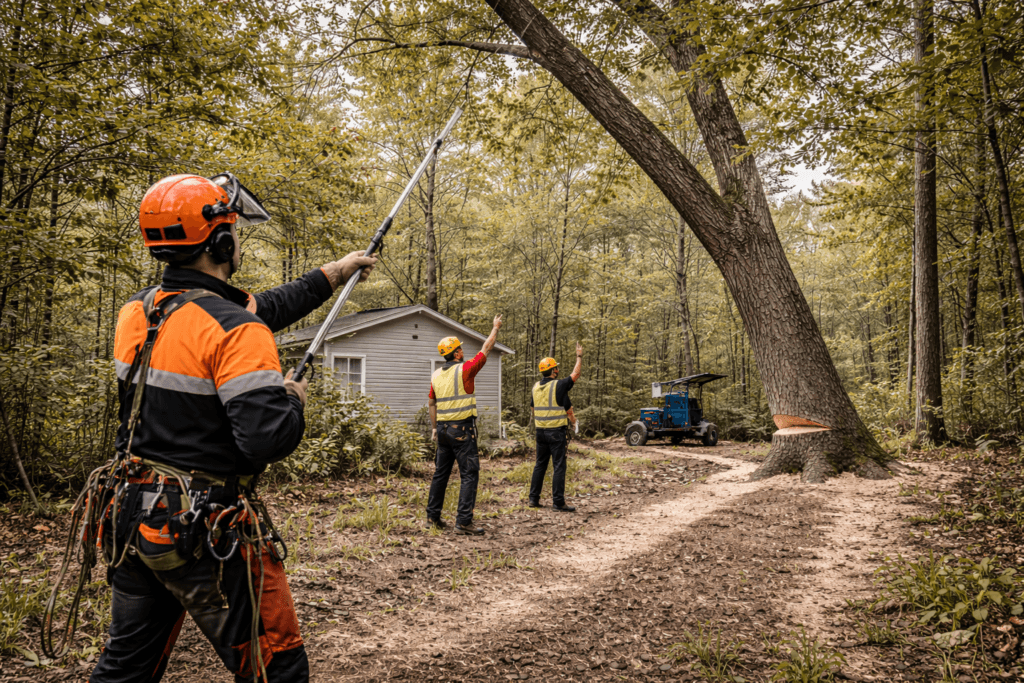
- The Look-Up Rule: Always perform a 360-degree canopy scan.
- Communication: Use standardized hand signals or radio helmets, as chainsaws drown out voices.
- PPE: Chaps, helmet, eye protection, and ear muffs are non-negotiable.
1 thought on “Mastering Tree Removal Techniques: The Science of Precision Felling”